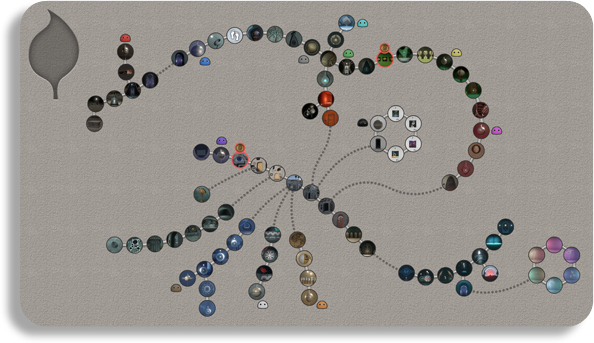
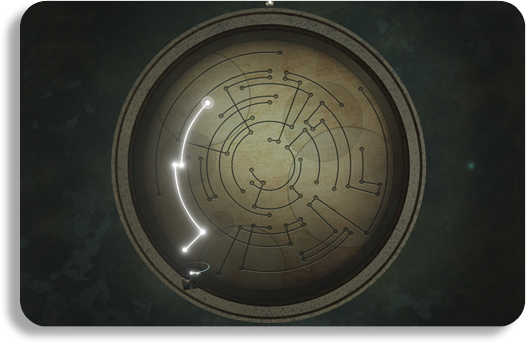
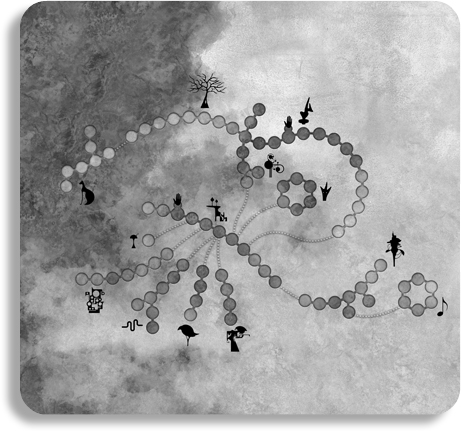
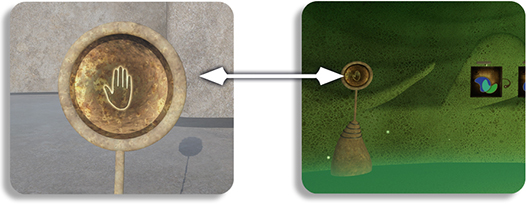
• The map will help you stay oriented wherever you are.
• Watch the camera fly-through.
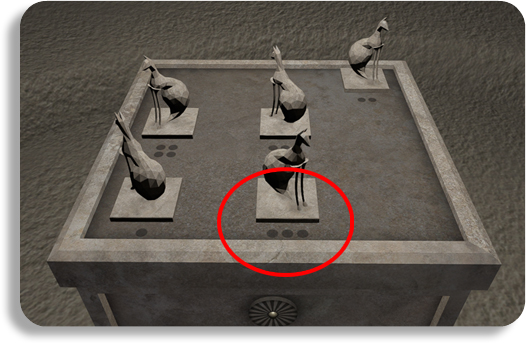
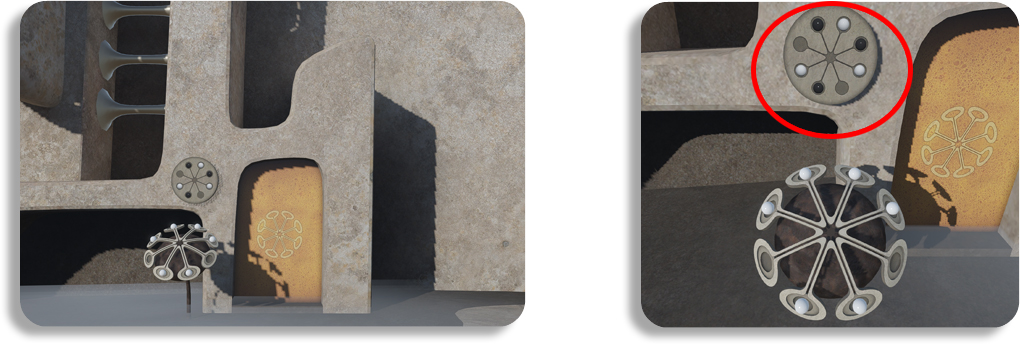
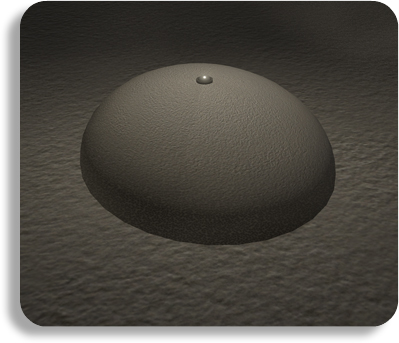
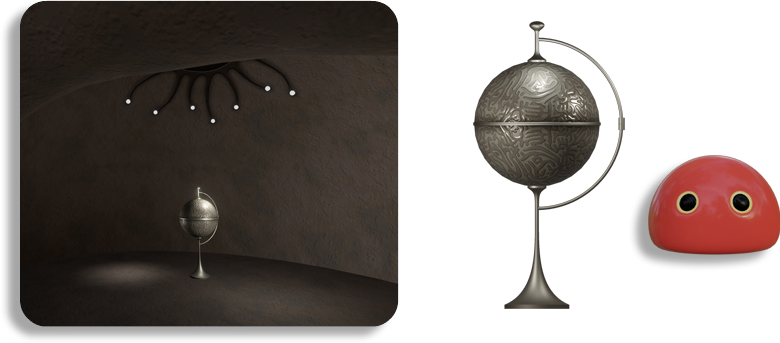
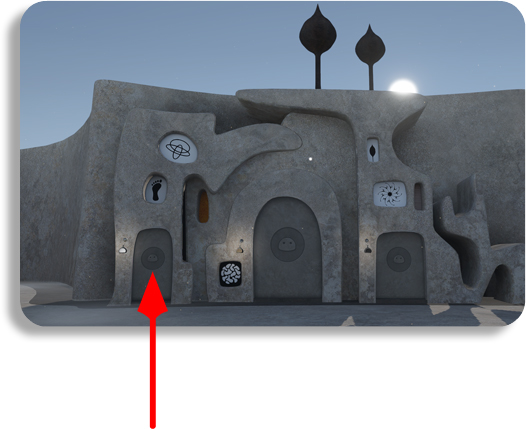
• Collect the small cat statues and place them on the little stone pedestal.
• Note their positions.
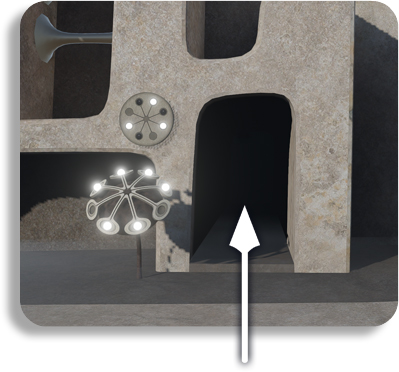
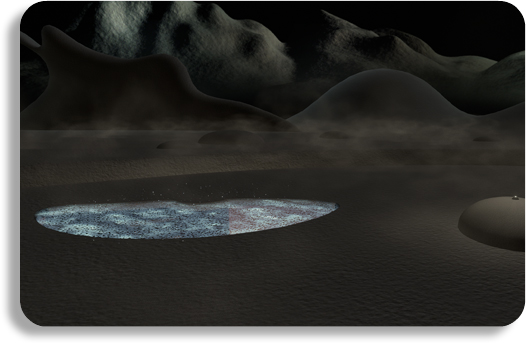
• Rotate the large cats at the pyramid according to the pattern.
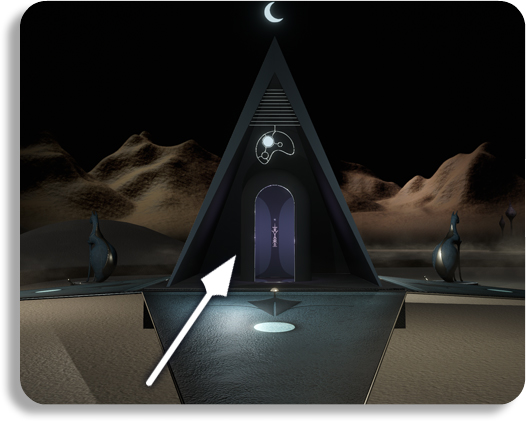
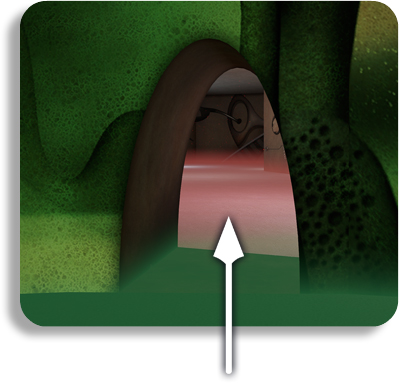
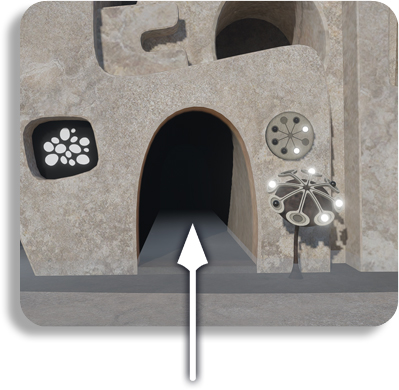
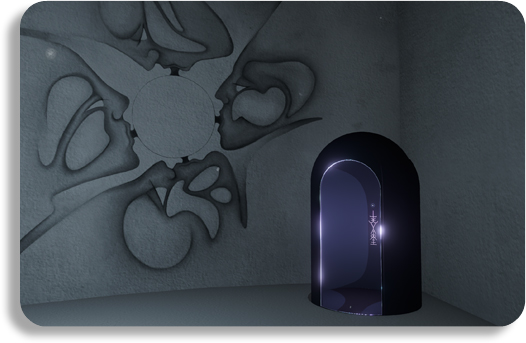
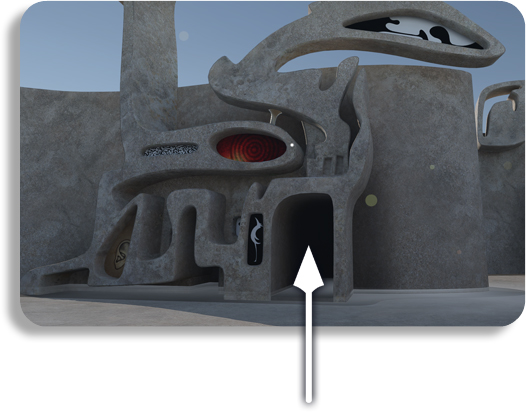
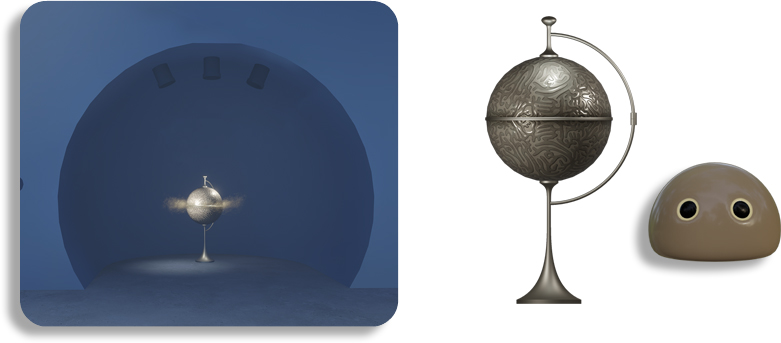
• Once the pyramid opens, you can enter the lift capsule.
2. White Room:
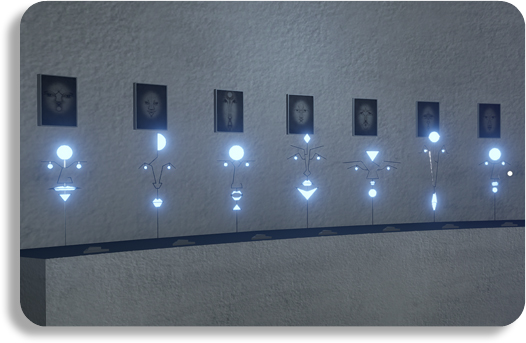
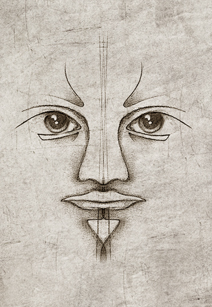
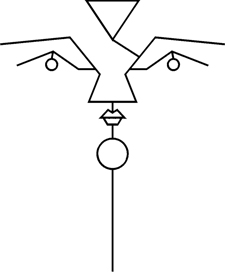
• Solve the face puzzle by assigning the
correct image to each wire face.
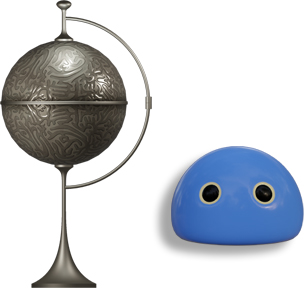
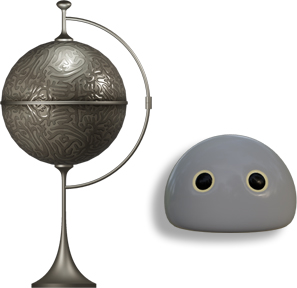
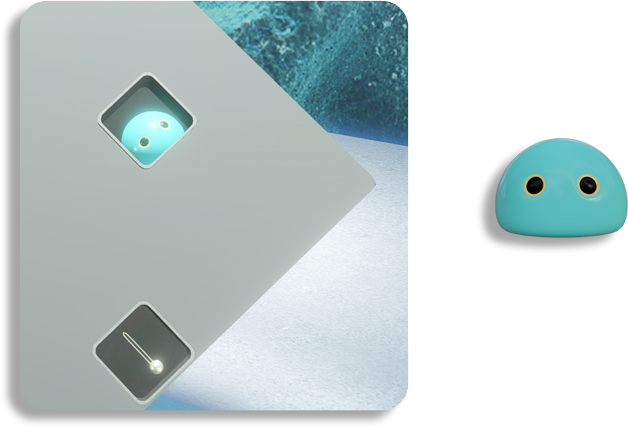
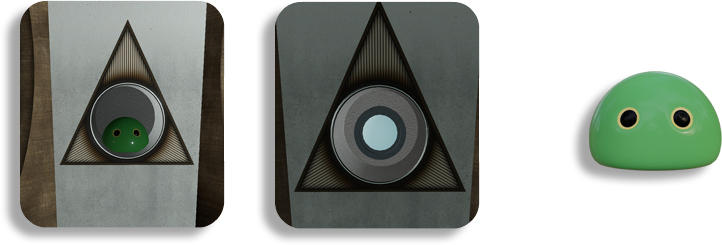
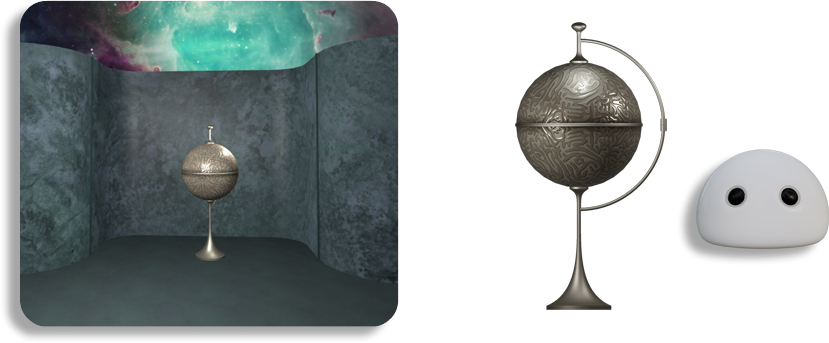
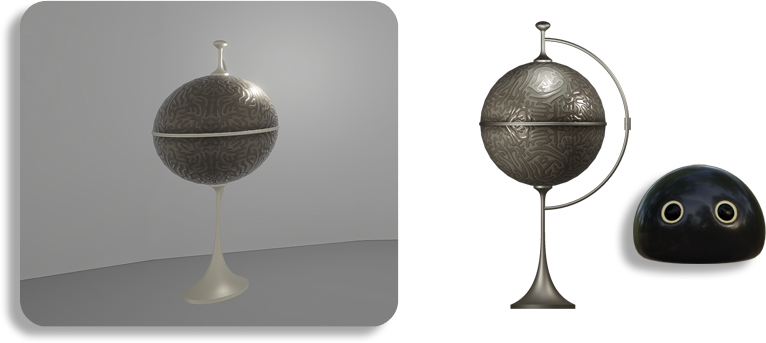
• A Blue Treefruitie is now waiting for you inside the sphere.
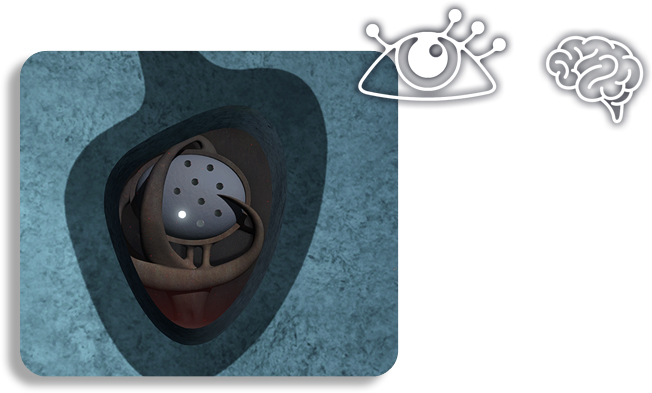
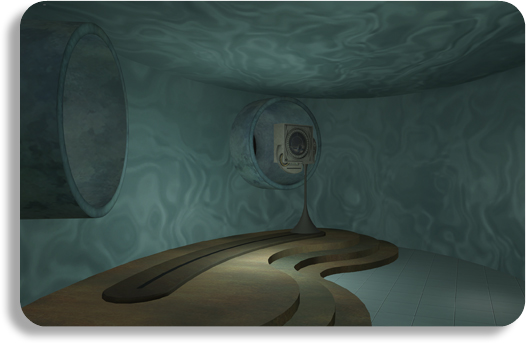
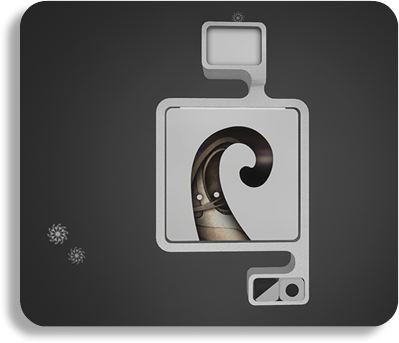
• Look through the small window and note the sequence of the blinking light.
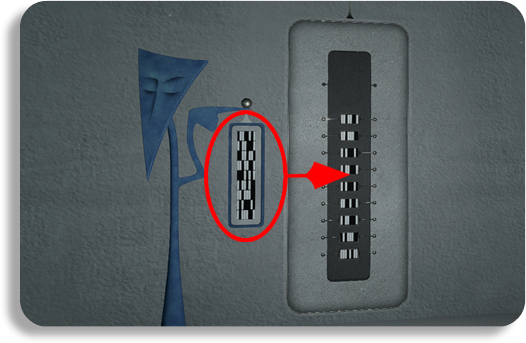
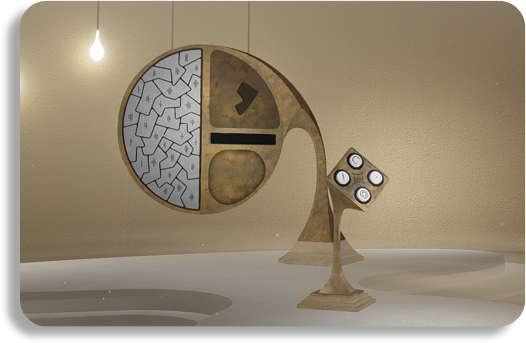
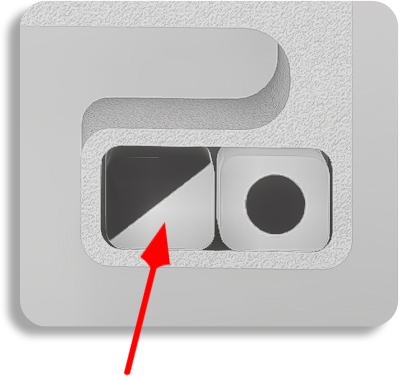
• To open the door, rotate and shift the blocks to recreate
the pattern shown on the small display to the left.
3. Blue Room:
• You’ll receive a Grey Treefruitie.
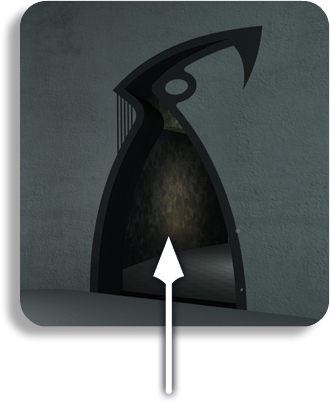
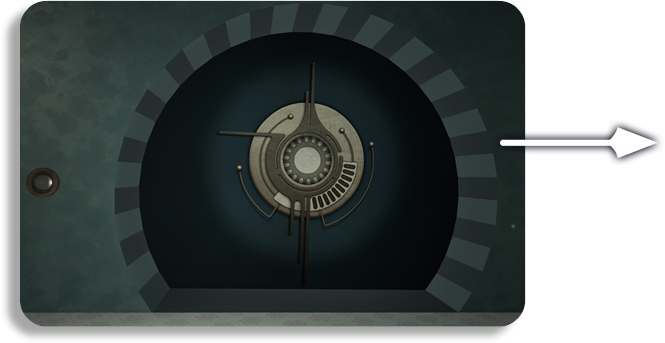
• Open the round door to the cube room.
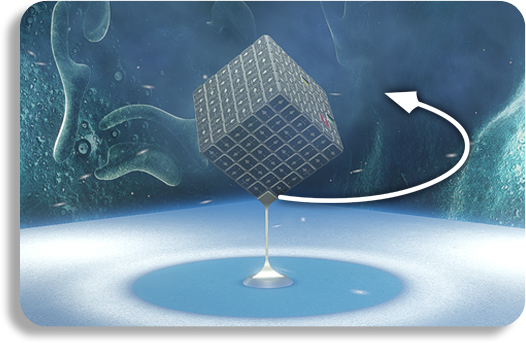
Click the arrows in the correct sequence -
keep in mind that sometimes tiles need to be skipped.
• You’ll get a Turquoise Treefruitie.
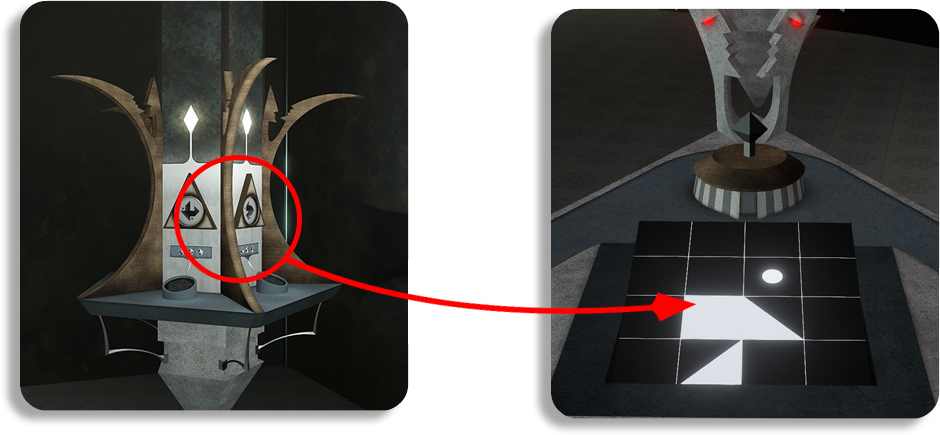
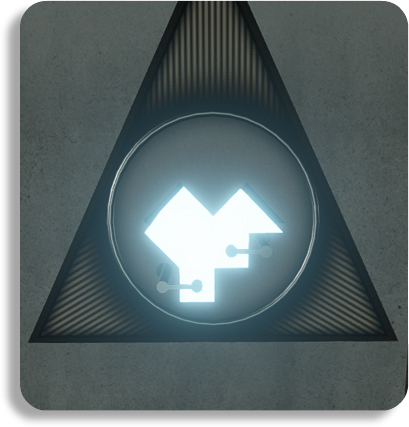
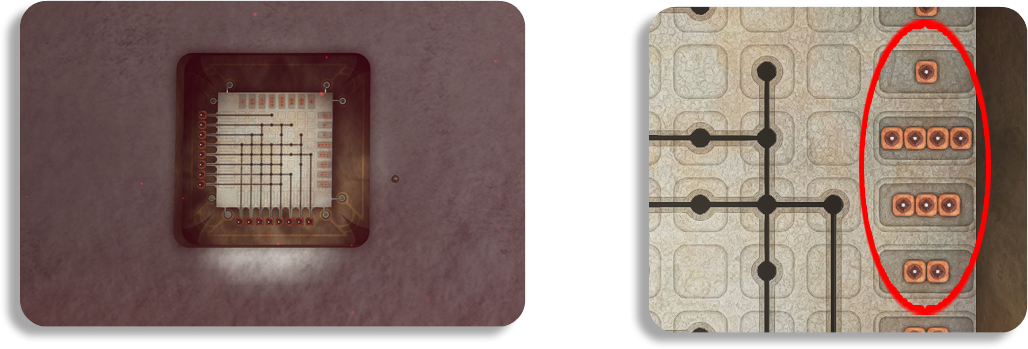
• Examine the openings on the two columns.
At the triangle table, recreate these shapes to receive batteries.
• Insert a battery into a column to unlock the puzzle beneath it.
All sides of both columns must be activated.
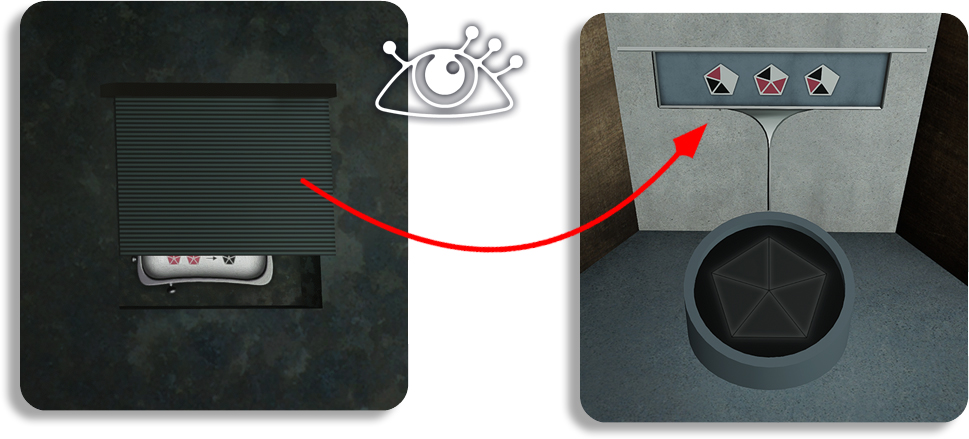
• To the right on the wall, there’s a blind. Lifting it reveals
the clue to solving the pentagon puzzle
(e.g., black + white = red).
• At one column you’ll receive a Green Treefruitie, and at the other,
you can pull a lever to open the next door.
4. Green Room:
• Solve the table puzzle with the yellow sculptures.
Sink the sculptures into the boxes with matching symbols on their lids.
The lids only open when certain sculptures are placed on their
pedestals. (Shown on the front of the boxes)
Find the correct sequence to sink them all.
• You’ll receive a Yellow Treefruitie.
• This mechanism you’ve seen before.
Click the correct light sequence, and the door to the next room will open.
5. Red Room:
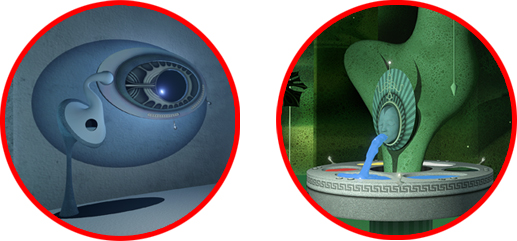
• Solve the puzzle beside the eye-wall.
The indicators above and to the right show how many tiles must be
placed in each row.
Figure out the correct order to insert the tiles.
• You’ll get a Pink Treefruitie.
• Grab the golden ring and master the wire loop challenge.
Try to stay centered.
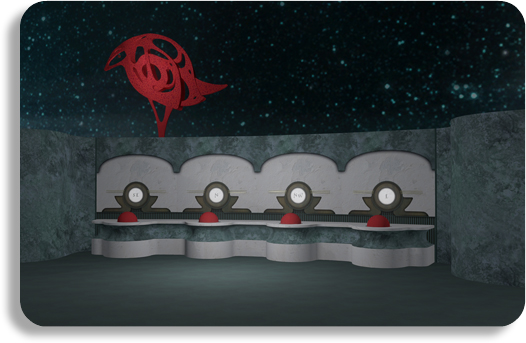
• The faces on the wall will now project symbols onto the floor.
Enter these symbols in the same order into the
big droplet-shaped buttons on the wall.
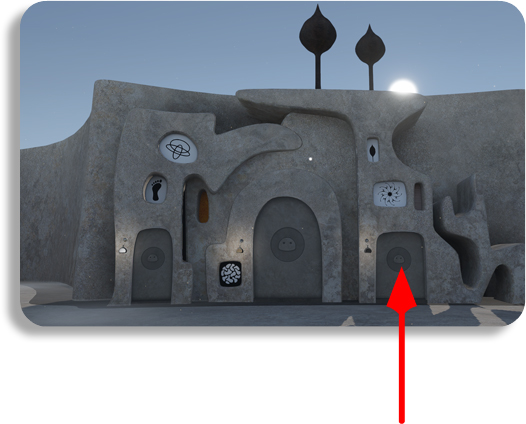
• The first city gate will open.
6. The City:
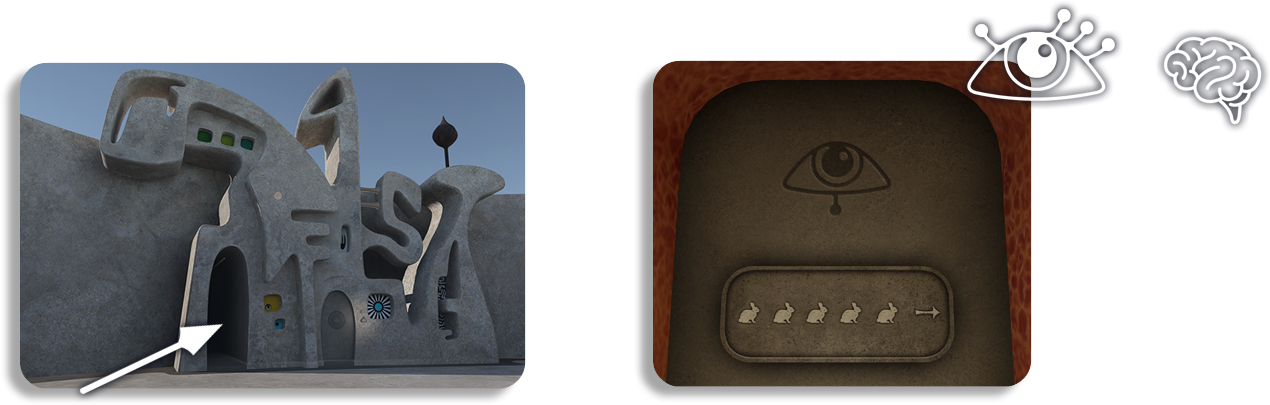
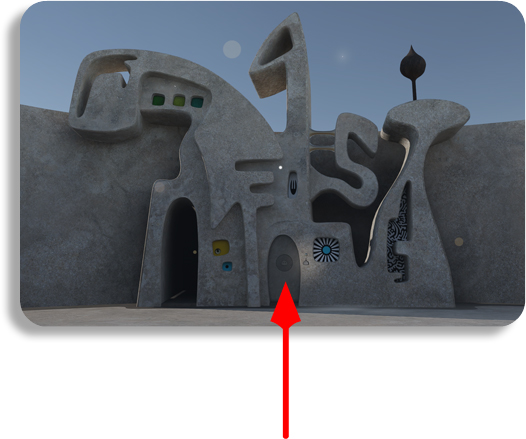
• Enter the doorway one step left. (Second city gate)
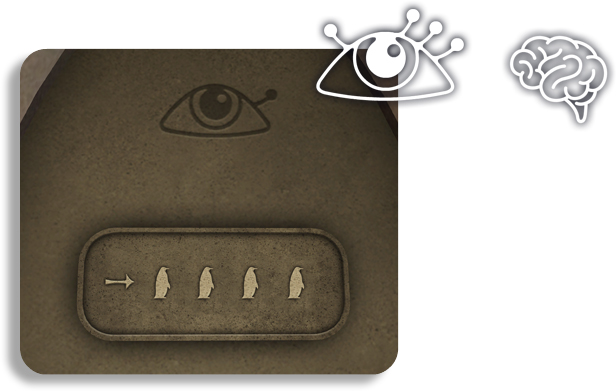
You'll find a locked door with animal symbols on it.
Take note of the symbols.
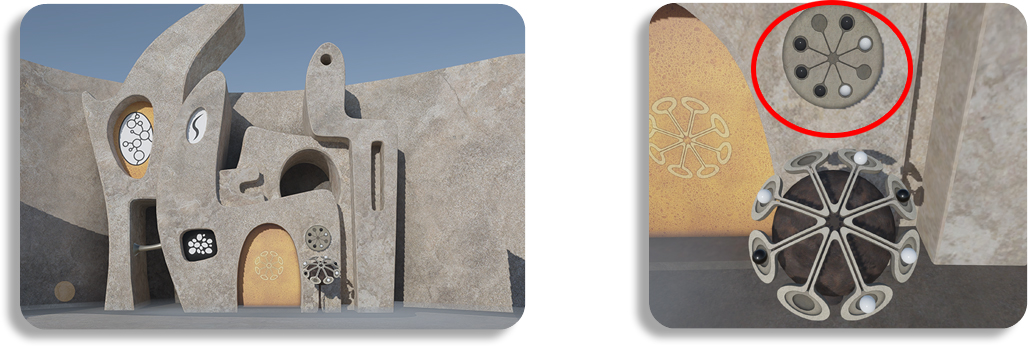
• Two steps left, you’ll find an orange door with a pedestal in front of it.
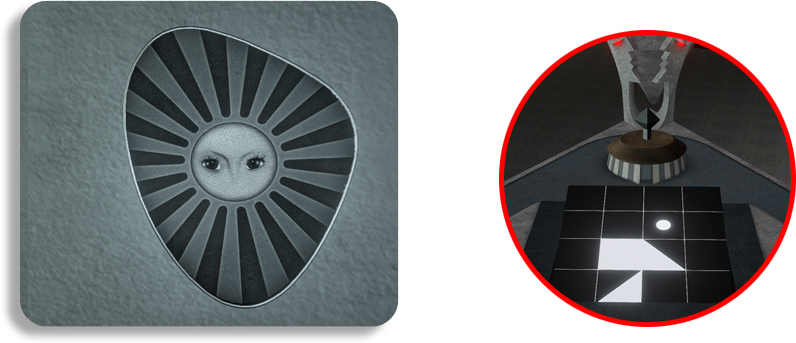
Solve the puzzle by placing the black and white balls so that they
match the pattern shown above.
Placing one ball opposite another changes its color.
7. The Dome:
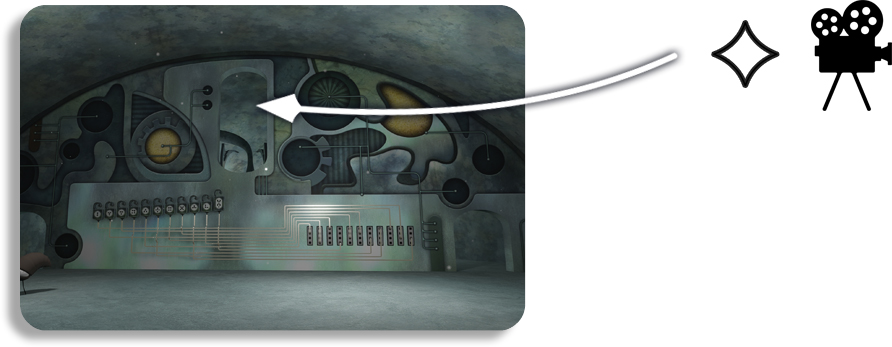
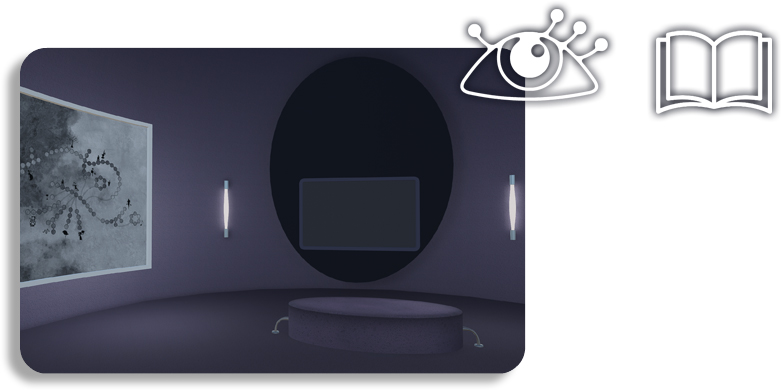
• Watch the camera fly-through.
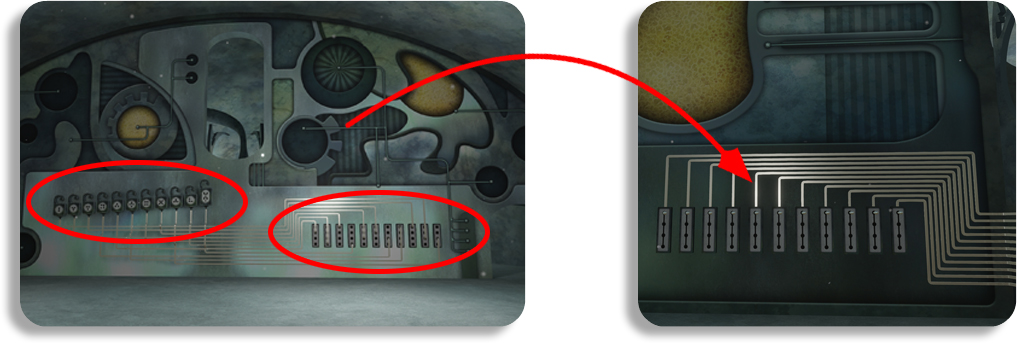
• You'll see cables with symbols above them.
Follow the cables to the other side and set the levers so they
connect correctly on the back.
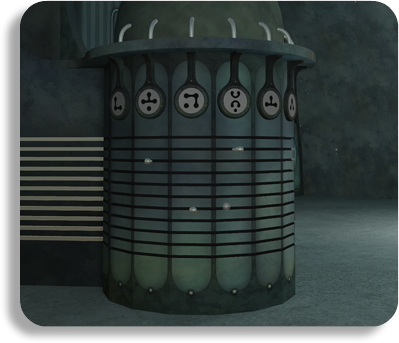
• At the pillar, adjust the levers so that each cable is connected to
its corresponding symbol.
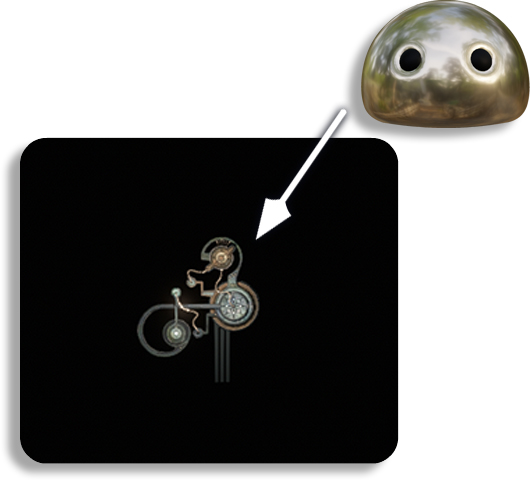
• The Dome mechanism next to the pillar will now show you the symbols
along with their respective colors.
• Solve the puzzle here as well to open
the door to the Camera Room.
8. The Camera Room:
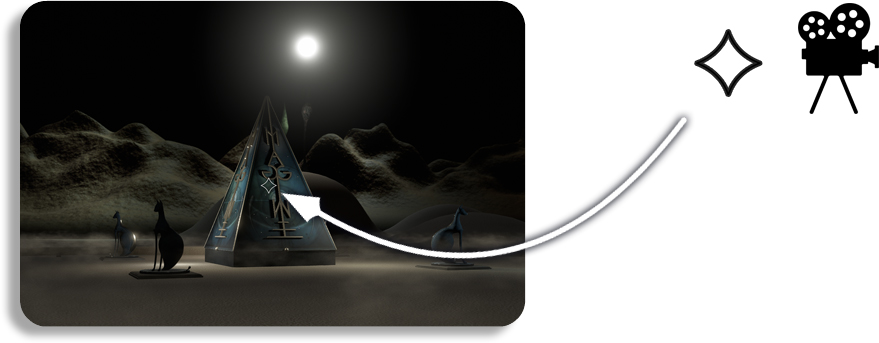
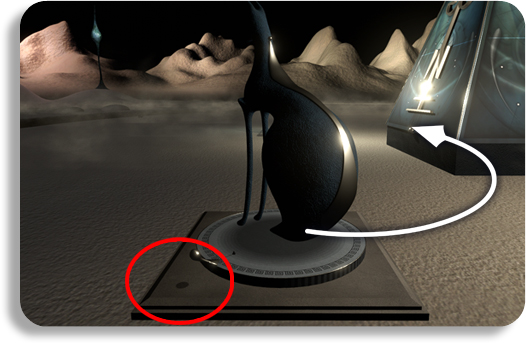
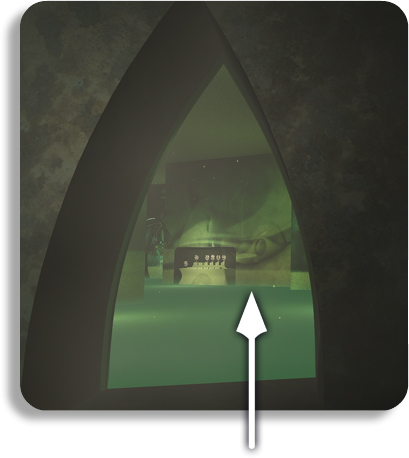
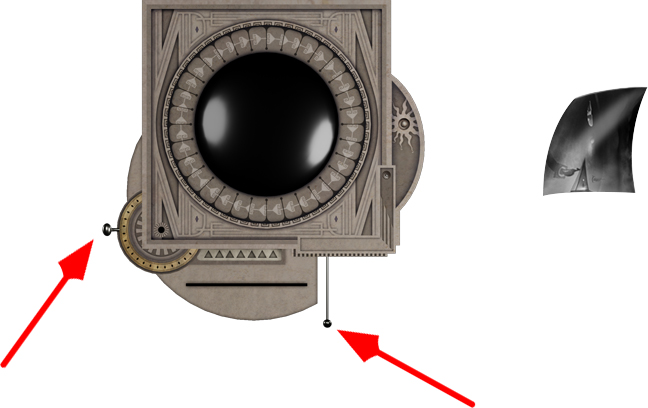
• Through the window, you can see the pyramid.
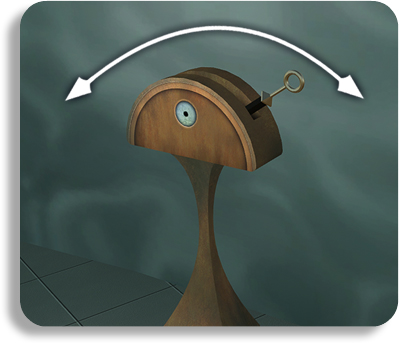
Turn the dial to bring the image into focus.
Pull the small lever to take a photo.
• Flip the wall lever, the camera will move to the other window,
revealing the Dome mechanism.
Focus the camera again and take another photo.
9. Back in the City (Purple Room):
• Open the sphere and collect the Purple Treefruitie.
• Examine the empty picture frame and notice a small slot underneath.
Insert the pyramid photo and discover a hidden opening in the ground,
with a blinking stone nearby.
• You can sit on the couch and read the Treefruities' story.
• You also can take a look at the map of LEAVES 3 (Point&Click Version).
10. Back to the Pyramid:
• You can now activate the travel portal.
It will transport you back to the green room.
• Go to the White Room and use the lift capsule to return to the pyramid.
11. The Pyramid:
• Next to the pyramid, you’ll now see the glowing stone you saw in the photo.
Press the button, and the ground will open up.
• Inside, you’ll find a sphere containing the Red Treefruitie.
• Return to the White Room.
12. White Room:
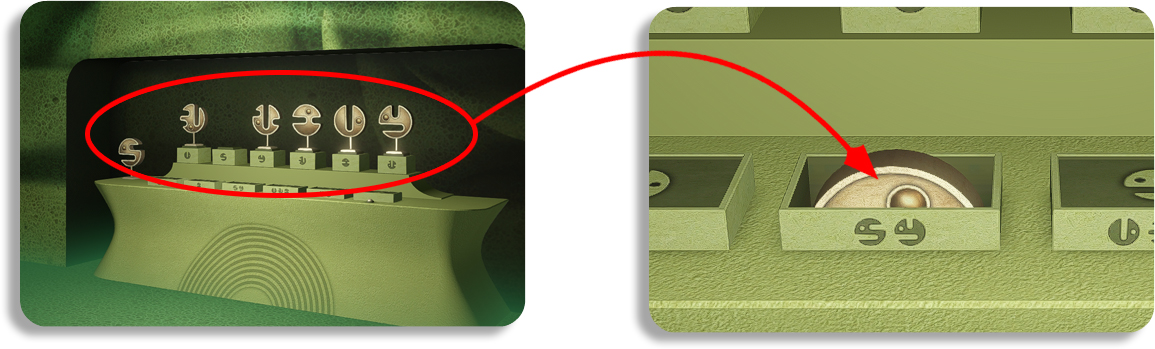
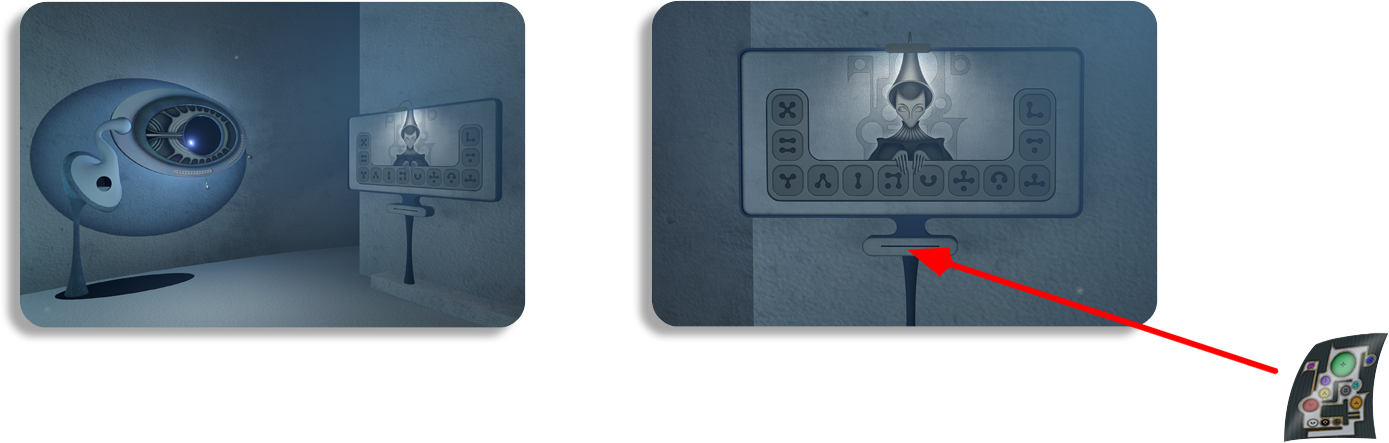
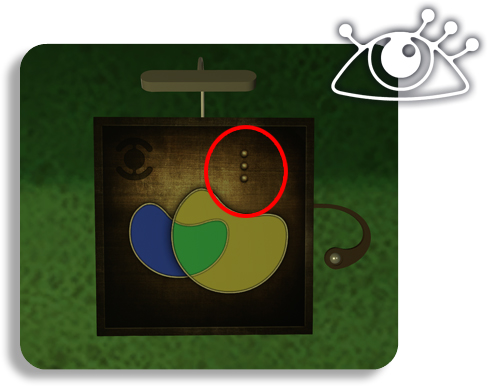
• Look at the symbol-board with the symbols you've seen in the dome.
Insert the photo with the color symbols into the slot below to see the color
combinations again as a reference.
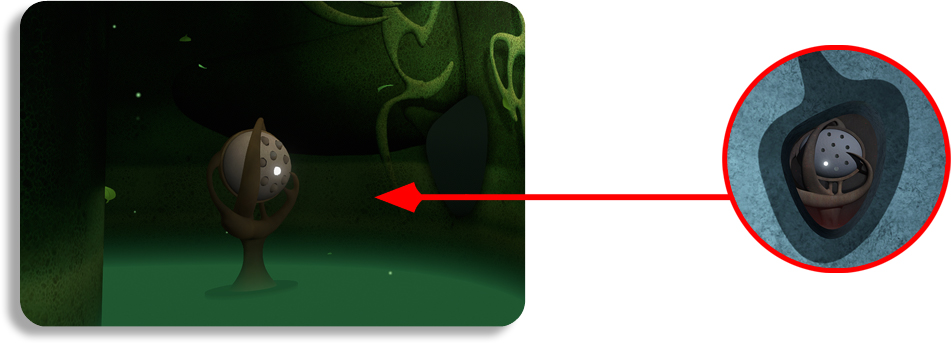
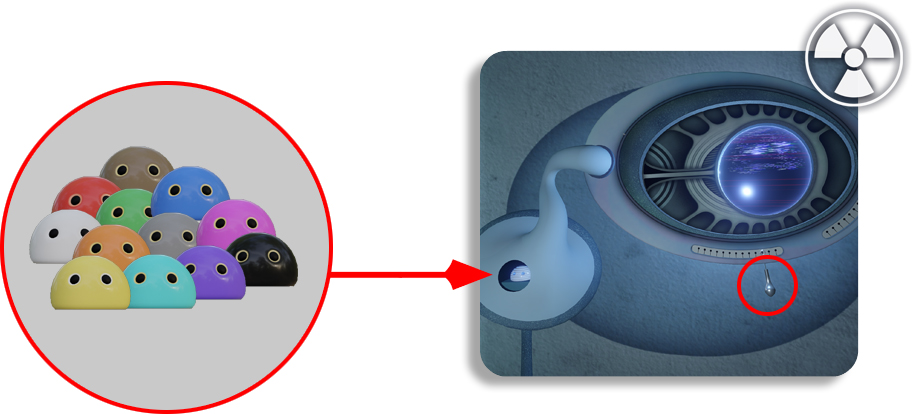
• This is the X-ray machine.
Here you can X-ray your Treefruities. Use the levers to focus the image.
Now you know what their original color is supposed to look like.
• Head to the Green Room and go to the fountain.
13. Green Room / Fountain:
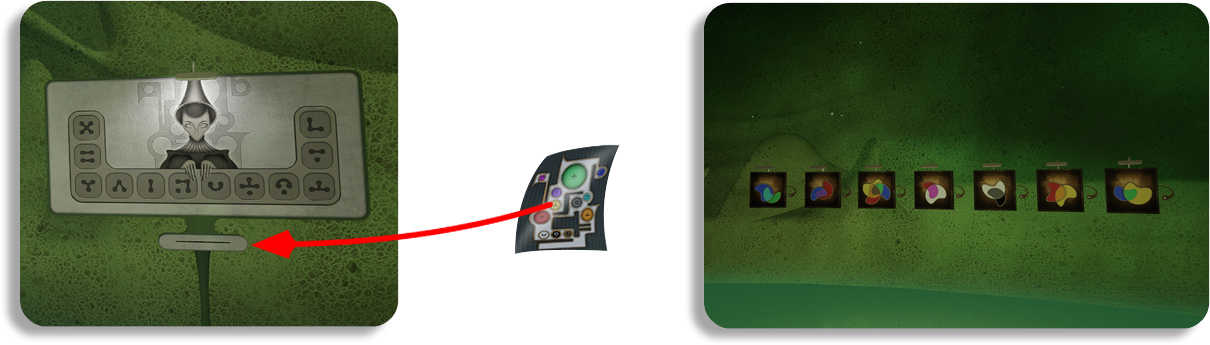
• Look at the color charts on the wall and take note of how colors are mixed.
You can insert the color photo into the symbol-board again for reference.
• Now you can recolor the Treefruities.
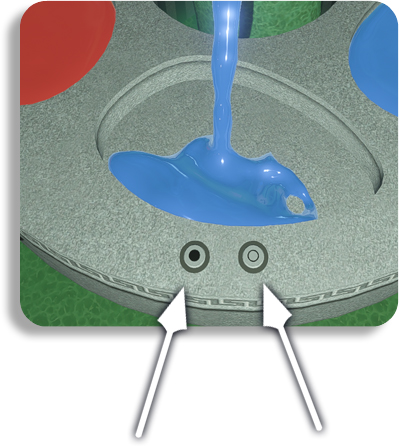
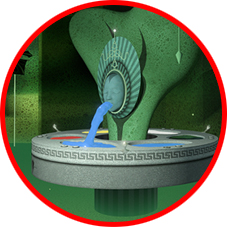
The fountain can be rotated and has small basins filled with primary colors.
The left button makes the mouth release color into the basin, the right button empties the basin.
The ceiling rod resets the fountain.
• Mix your colors and dip the Treefruities to restore them to their true colors.
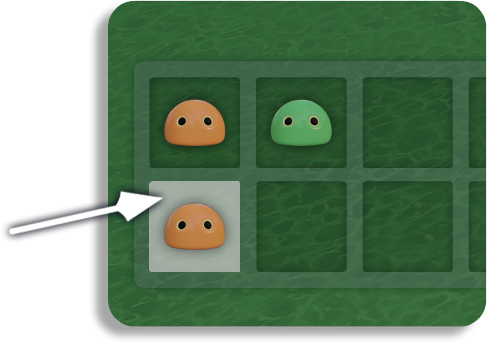
(Make sure to memorize which Treefruities you’ve colored already and where they are placed in your inventory.)
• Mark the slots in your inventory.
• Now look at the number of marbles shown on the wall color charts.
• Go to the Blue Room.
14. Blue Room:
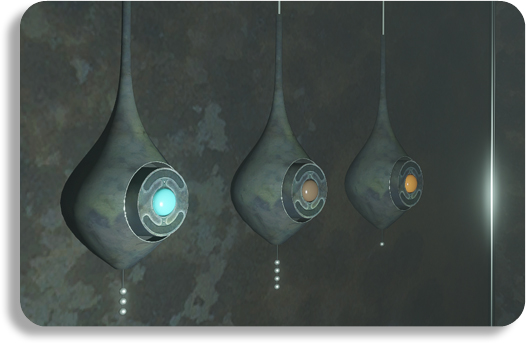
• In the Blue Room, you’ll find large droplets on the walls, each with a string of beads beneath it.
Set the correct color for each droplet according to the wall charts you saw earlier.
The Orange Room will open.
15. Orange Room:
• Solve another a pedestal puzzle to open the second city gate.
• Before passing through the door, make sure the door in the Red Room
has been closed.
You’ll want to view its backside.
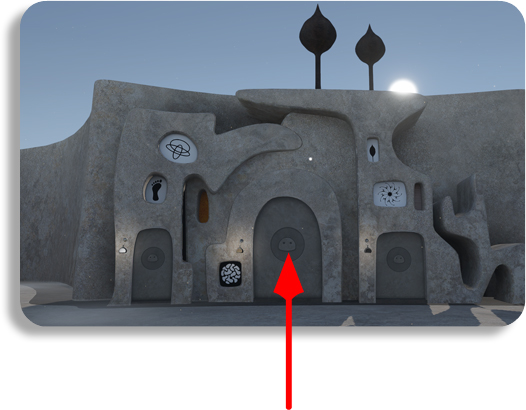
16. The City:
• Move one step to the right and go through the door. (first city gate)
You will now stand in front of the locked door that you had closed before
in the Red Room.
On the backside, you'll see the second half of the animal symbol sequence.
• If you have correctly recolored your Treefruities, you can now open the doors with little pouches hanging on them.
17. Yellow Room (White Pouch):
• Go to the console. On the large screen, you’ll see a puzzle piece on the right.
Find the matching piece on the left, rotate it to the correct position, and
enter the dot/dash code visible on the piece.
• Once all puzzle pieces are solved, displays will appear on the dwarves' pedestals
and you can solve the next puzzle.
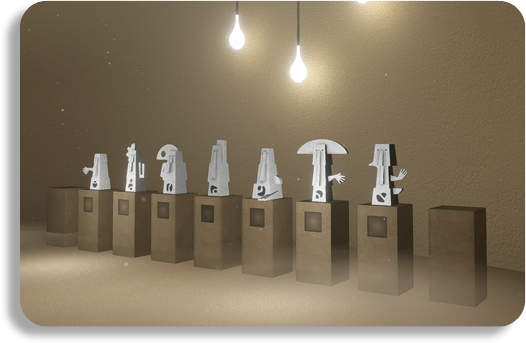
• Each dwarf must be placed on their correct pedestal, assembled in the proper combination.
Use the empty pedestals to the left and right to help you move parts around.
Important:
A foot part can only hold a middle or head part.
A middle part can only hold a head part.
• The sphere will open and you’ll receive an Orange Treefruitie.
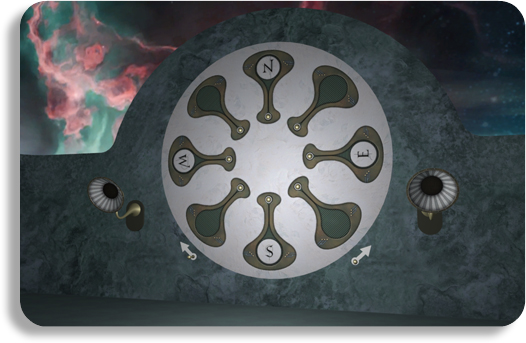
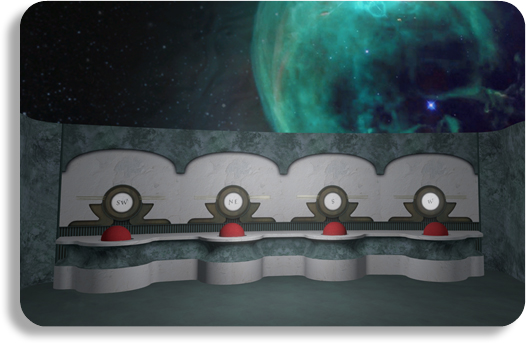
18. The Labyrinth (Brown Pouch):
• Head to the large wheel and press the button to play a bird sound.
Make a note of the matching compass direction.
• Touch a ball in one of the basins and match the bird call to the correct compass direction
• Inside the sphere, a White Treefruitie is waiting for you.
19. The Steam Room (Black Pouch):
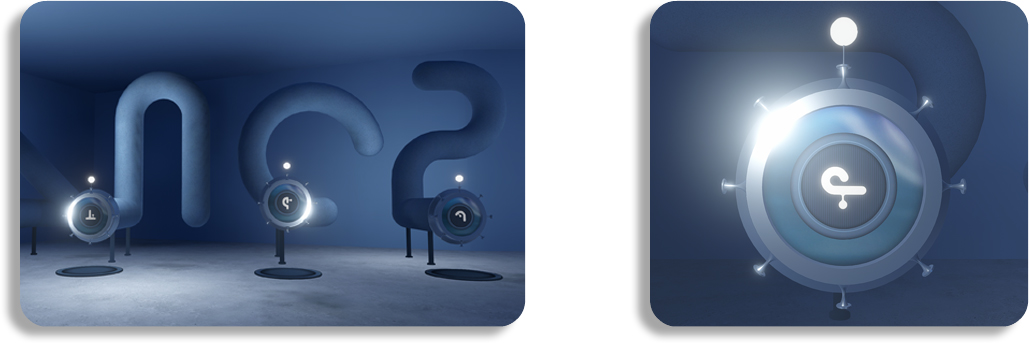
• Adjust the indicators on the pipes.
When standing in front of an indicator, you’ll notice that each pipe has a unique shape.
Find the pipe shape at one of the indicators and remember the direction the small dot is pointing.
Return to the pipe you identified and turn the indicator so that the light point matches the direction.
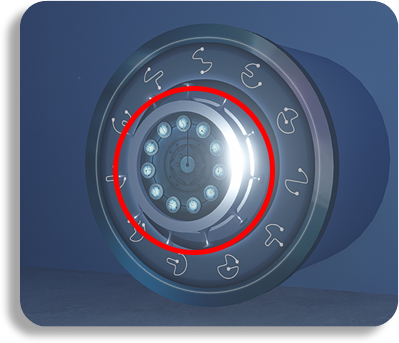
• One pipe is inside a locked room.
At the entrance you can see a large rotating disk.
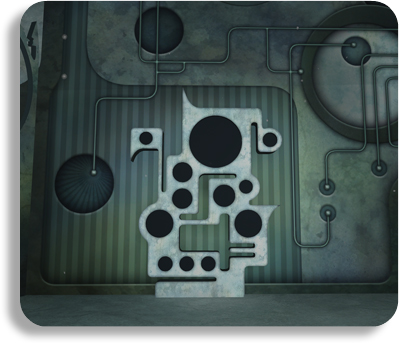
Slide the center pieces into position so they match the outer symbols.
• Once everything is solved, you’ll receive a Brown Treefruitie.
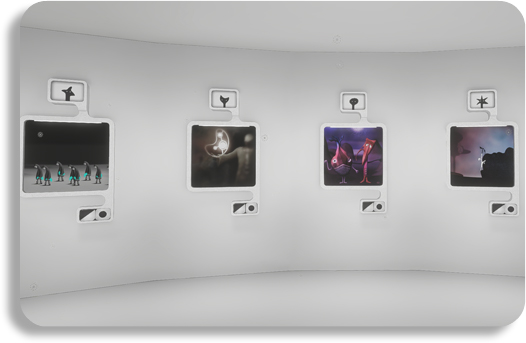
20. The Gallery (Grey Pouch):
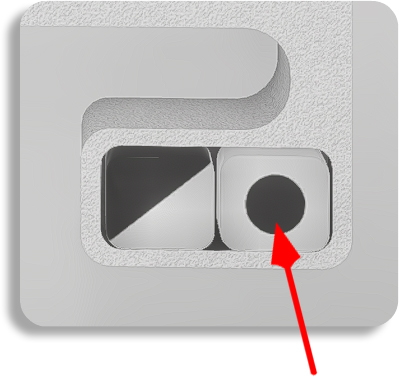
• There are buttons below each picture.
The left button transforms the gallery - now the paintings show ghosts.
Within the ghosts are sections of the original paintings.
• Find the painting and use the right button to select the
ghost that displays the image
• You will get a Black Treefruitie.
• Collect the Treefruities you had placed in the pouches and return to the White Room.
21. Underground Rooms & The Tree:
• X-ray your newly collected Treefruities and recolor them correctly at the fountain.
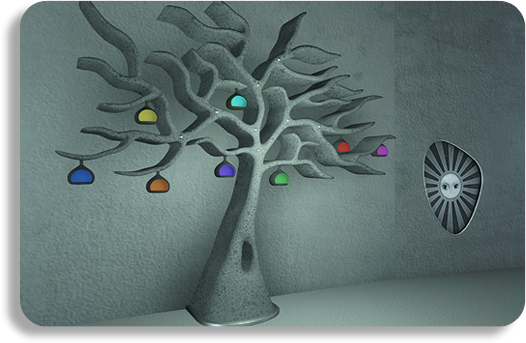
• In the White Room, you’ll see a tree.
You can now insert your Treefruities into it.
• A small window will open, revealing the slot for a battery.
Note the shape, and go to the Blue Room to create the matching battery.
Insert it and a hidden door will appear.
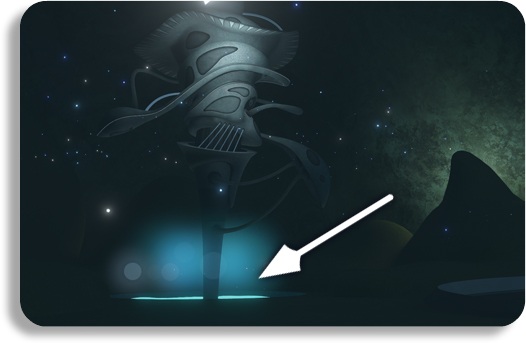
• Go through the door in the Orange Room and you’ll enter
“The Nothingness.”
In the distance, there’s a mechanism where you can
retrieve a Golden Treefruitie sculpture.t
• Return to the City.
22. The City:
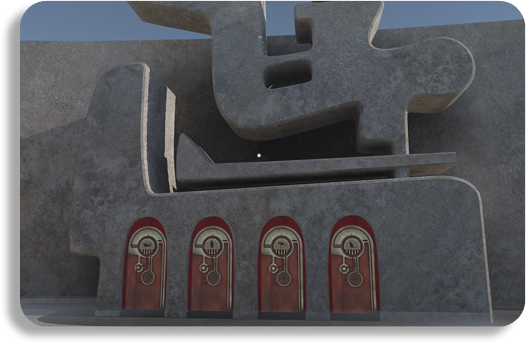
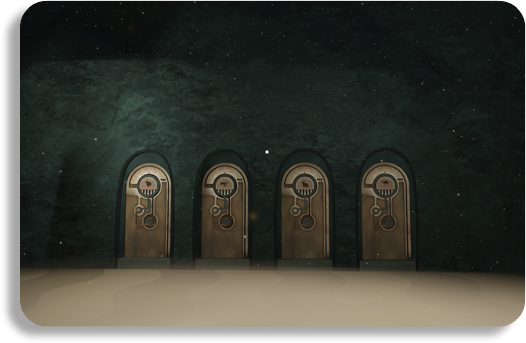
• Find the house with four doors.
You've already seen the clue for this on the back sides of the two
doors leading to the underground rooms.
• Now enter the doors in the correct order and you'll
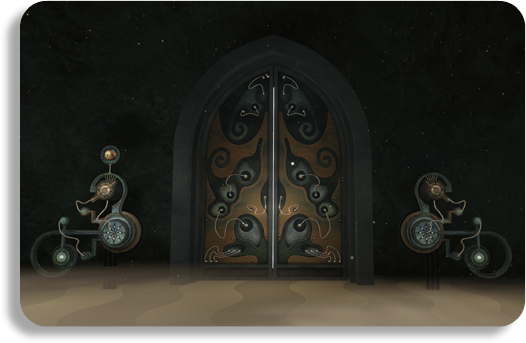
arrive at the Golden Gate.
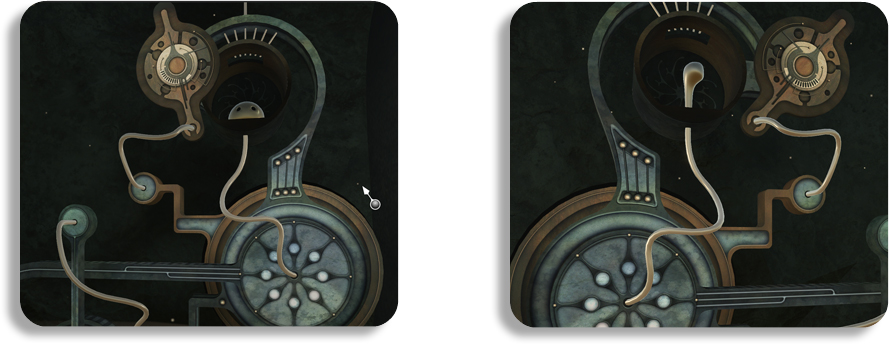
• Insert the Golden Treefruitie into the left mechanism and then pull the
lever on the right mechanism.
The gate will open.
23. Finale:
• You arrive at a long corridor — but you cannot proceed.
A sign tells you that only Red Treefruities are allowed.
• Collect any remaining Treefruities and recolor them at the fountain.
• Pass through the Golden Gate again and exit the corridor.
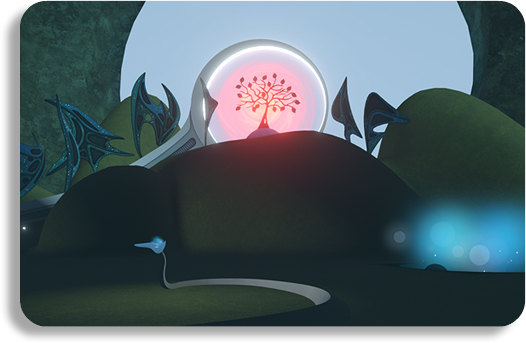
• On a hilltop, you'll see a portal and a beautiful tree.
Place all your 12 Red Treefruities into the gel dish, one after the other.
They will be teleported to the tree. At last, they have found a peaceful and beautiful place to live.
• The portal closes, and the gel in the large basins disappears.
• Beneath the tower, you’ll see a locked door.
Maybe it will open for you in the coming years.
• Step into the lift capsule in the other basin and travel to the credits room.
Here, you'll learn more about the making of LEAVES 3.